Making Tail Loops for Custom Motorcycles

Making Tail Loops for Custom Motorcycles

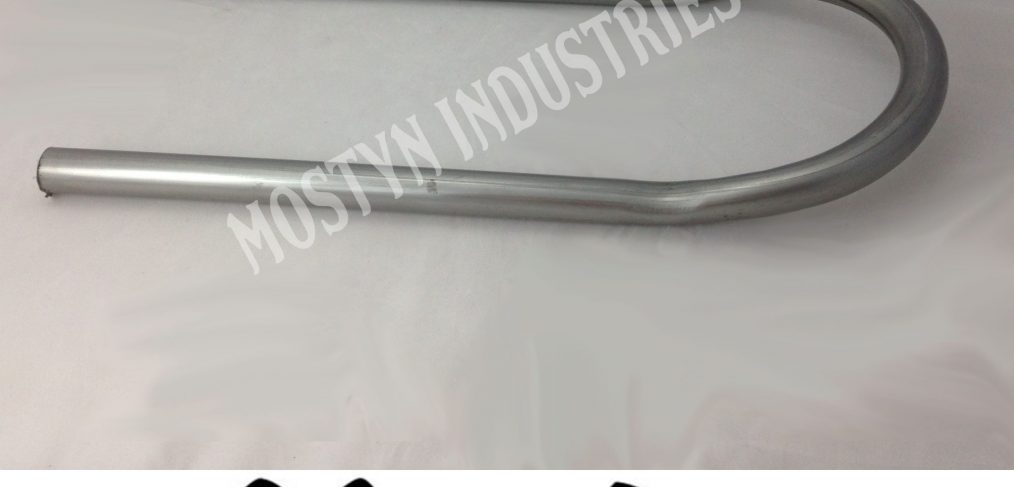
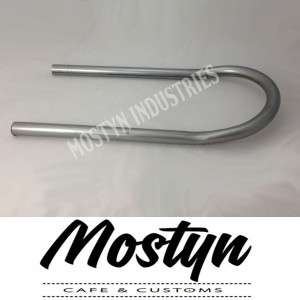
We’ve been making frame loops up for quite  a few years now for custom applications on Cafe Racer frames, subframes etc. In this time we’ve made several dies to make this job easier.

Here’s a vid of how we make the dies.

When an order for a loop comes through we are able to make them same day like this:

Making lugs to fit inside the frame and loop

Unfortunately for us Australia doesn’t have the same access to imperial sized tubing that America does. We have struggled to find tubing that we can use for lugs when welding loops to frames. Not only is it impossible to source the snug fit needed for the loop in just about every case the frame inner tube diameter is different to the loop inner diameter.

Here’s what can be done with the enough time and energy.

  1. Find a suitable solid round bar and cut 2 pieces 60mm long
  2. Using a metal lathe bring the entire outer diameter down so it fits the larger of the inner diameters of the loop of frame
  3. Now make a step in the stock by using the lathe to turn down approx 30mm of the stock to the smaller of the inner diameters.

That’s the best way but there is another way which is a lot less time consuming and will do the job.

  1. Cut 2 sections 40mm long off an existing loop. (equal amounts each side rather than both off one side for obvious reasons)
  2. along the length of the offcuts use a cutting disc to take out approx 5mm of the long edge
  3. Now you can use a vice/hammer/clamp etc to shrink the diameter of the tube so it can fit inside the frame loop
  4. Further modifications may be needed to make it fit inside the frame but you get the idea

Get Cutting!!!!


p.s. Here’s the page on our site if you want to order one of our loops..

Link

Mostyn – First Company with new SR400 Kits

Mostyn – First Company with new SR400 Kits

We love our imported SR400’s. We never thought we could love anything else more…..

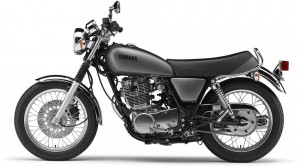
Turns out Yamaha bought out the NEW SR400 and we’ve gone all googly eyed again.

sr400 new

Knowing that boys will be boys (and girls will be boys too) we have come up with a 4 stage upgrade kit specifically for the Fuel injected SR400’s.  We’ve drawn together parts from our favourite suppliers, POSH, Nitroheads and our own Mostyn range, to make customising your new SR400 that much easier.

Pick styles, products and finishes to make your bike one off. We send each kit out in a box with instructions and you know we can be contacted if you need further advice.

Check out the link for the 4 stage kits here.

TU250 Improvements

TU250 Improvements

We just finished a TU250 for a customer. With upgrades including seat, exhaust, mirrors and indicators we think it made a big difference on a small budget.

photo 4


If you want to see the video you’ll find it here.

Cafe Racer Fenders Custom Made Now

Cafe Racer Fenders Custom Made Now

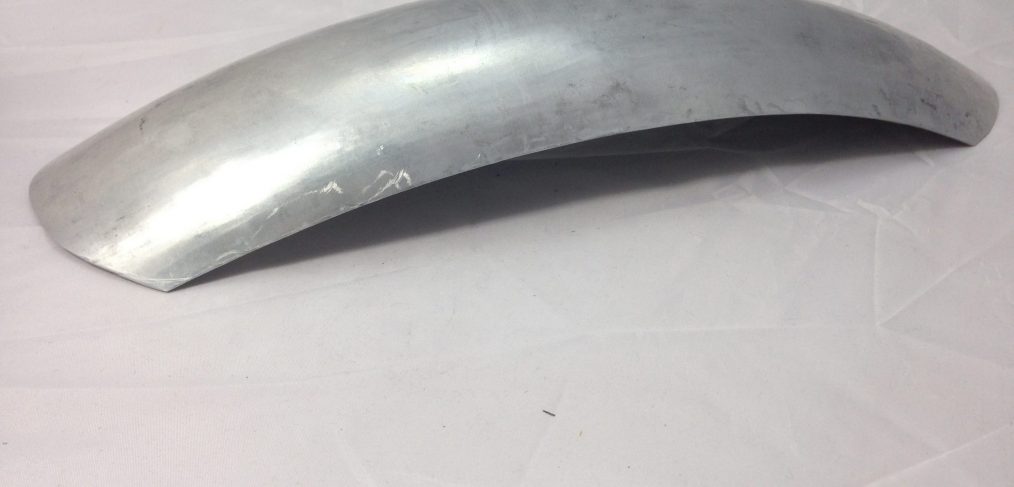
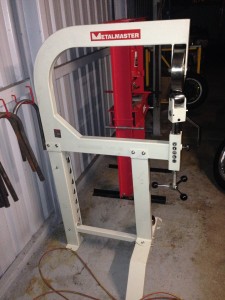
As any of the visitors to our workshop know, we’ve been limited to choices when it came to front and rear fenders for our Bobbers and Cafe Racers. We’ve always sold the Stainless Steel SR500 guards but look what we got! That’s right, our very own ‘English Wheel’:)

english 1

Here is the first guard off the wheel

english 2

Excited much?.. You could even say we’re having a Wheely good time!!

If you need a fender made up we can help you. Get in touch with us with tyre size, diameter etc and how long. We are also working on CNC brackets to fit all the popular forks so email us whether it’s your front or rear guard!

New DIY Bar End Video Installation Guide

New DIY Bar End Video Installation Guide

We love the feedback we get on our parts. One of the most common things we here with Bar End mirrors though is what a pain they are to install. With that in mind we made a quick video to show you the easiest way to install them. Works 100% of the time. Super strong and doesn’t require rubber/glue/installation during the summer solstice etc..

Frame Loops with Kicks available now.

Frame Loops with Kicks available now

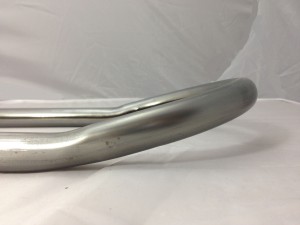
A popular modification to Cafe Racer frames is the loop between the rear struts. Not only does it strengthen the rear end, it provides a great place to mount the tail light. Many people have asked us to provide our loops with kick ups at the rear. Until now it has been impossible for us to do without cutting and welding an existing loop to get the angle we needed.

Until now:

LO25-230K

These loops are made out of a single piece of Chromoly pipe with an outside to outside diameter of 225mm. The kick up itself is approximately 5 degrees. In the above picture you can see the kick starts at approximately 150mm from the end. In this case the rear has been raised up to 40mm.

We are working on making a bigger kick up in a future design however with any higher angle it is proving very difficult to keep the shape of the tube intact.

LO25-30Kc


Currently this is the only size pipe and width that this kick is available in. As we increase our Dies we will let you know of other sizes available. This ‘angle up’ is as close to the end as can be done. We can do the kick any distance before this however.

Happy riding!

SR500 hot dog exhaust

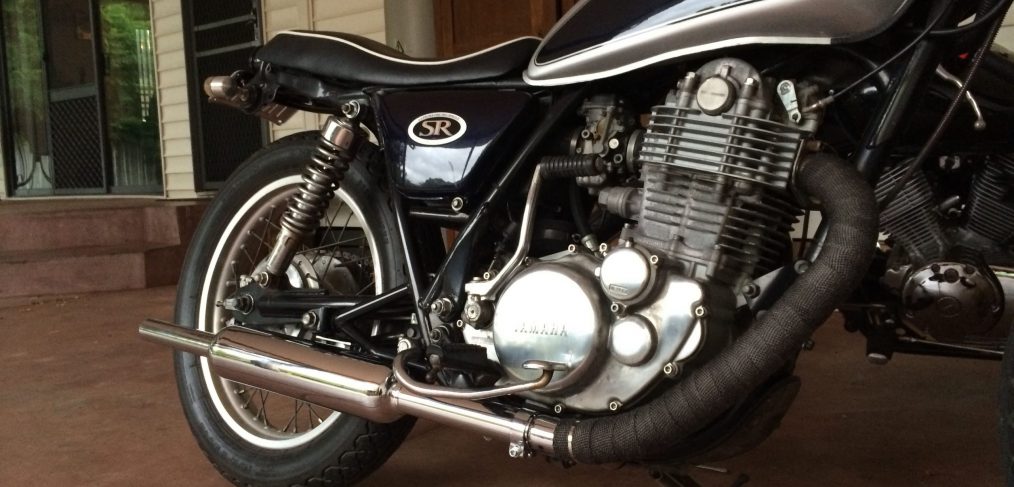
We sold our first Hot Dog exhaust fro SR500’s to a return customer recently. We are happy to report that he loves it. As this exhaust is also 94.5 decibels it is legal on our roads too. Thank you Adam for a great pic of the exhaust. Can’t wait to hear them for ourselves.

exhaust

Love these wheels

Love these wheels?

sr500 wheel

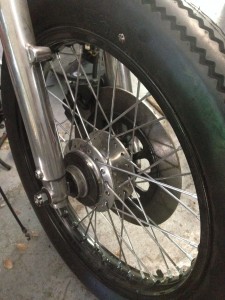
Yes, we do. This front hub took 3 hours to remove the ribs and polish up on the metal lathe. The black powdercoat rim and the stainless spokes all work well to accent it as well as the Firestone tyres!

While it was apart we thought it was a good idea to face the disc so we will get a bit more stopping power out of the front brake on this SR500.

If you need wheels to be built or the parts or even a bit of old fashioned advice, get in touch with us here at Mostyn Industries in Brisbane and we will help you any way we can.

Wiring up the warning lights on your Speedometer

Wiring up the warning lights on your Speedometer

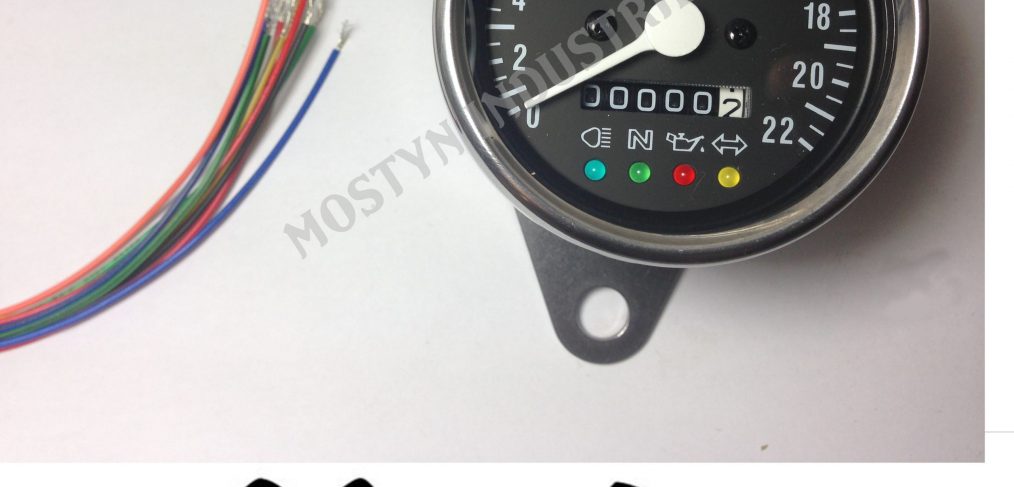
In the latest of custom build tips we have a 9 minute video on how to wire up the warning lights on your aftermarket speedometers. We share with you what wires go where and show them installed on an SR400. If you are in need of speedos or tachos you will find them for sale through our store.

Click here to go directly to our Youtube page and please subscribe. http://www.youtube.com/watch?v=qVbQEqH-tug

and the direct link to our Video page on our website. https://mostynindustries.com.au/videos/